When you’re ready to refresh a room, removing wallpaper sets the stage for a flawless finish. Clean, smooth walls make applying new wallpaper or paint easier and ensure a long-lasting, professional look — free of bumps, creases, and air bubbles.
Here’s everything you need to know about wallpaper removal, including preparation guidelines, essential tools and materials, and step-by-step instructions for two effective methods.
The best way to remove wallpaper
There are two successful methods for stripping wallpaper: steam and chemical stripping.
A steam wallpaper stripper is the fastest and easiest option, especially for large or stubborn areas. It’s perfect for tackling rooms with multiple layers of wallpaper, saving you time and effort.
Chemical strippers are a gentler choice for smaller walls or when dealing with just one or two layers. If you’re worried about damaging the plaster with the prolonged use of steam, this is a safer method. Depending on your preference, you can opt for ready-made chemical strippers or prepare your own diluted solution at home.
How to prepare for wallpaper removal

Before removing wallpaper, a few essential steps will help make the process safe, efficient, and mess-free.
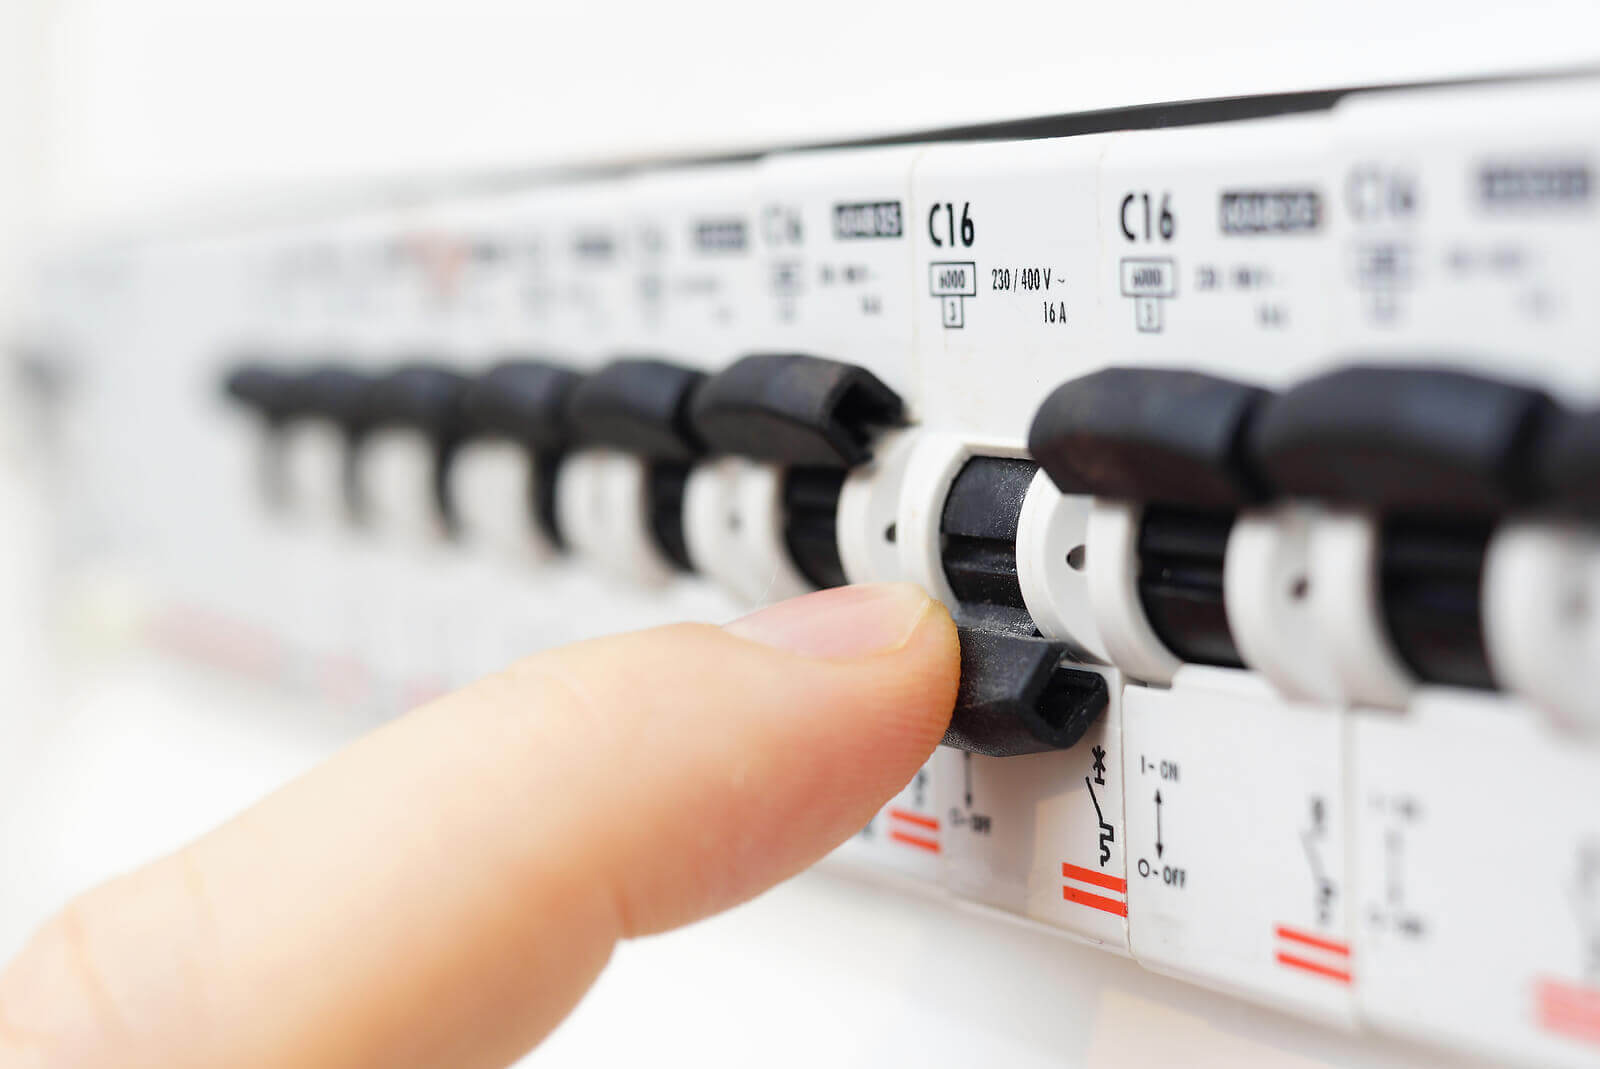
Turn off the electricity
Safety comes first. During wallpaper removal, water, steam, or chemicals may seep into electrical sockets or switches. Turn off the power to the room at your fuse box before you start to avoid any risks.
Clear the room
Clear the room as thoroughly as possible. Move any items that must stay to the centre of the room and cover them with dust sheets to protect them.
Clear the walls
Remove everything from the walls, including shelves, artwork, mirrors, and vents. Leave sockets and switches in place, but cover them with plastic sheeting and masking tape for safety. If there’s wallpaper behind light switches, loosen the faceplates for access — but always ensure the power is off first.
Lay dust sheets
Cover the floor and any remaining surfaces with dust sheets. These will protect surfaces from water, steam, and debris and simplify cleanup.
Score the wallpaper
Use an orbital scorer to score the wallpaper in wide, circular motions. This allows steam or chemical strippers to penetrate the surface and loosen the adhesive faster. Be careful not to press too hard, as this could damage the plaster underneath.
Scoring is optional but especially useful for painted wallpaper or walls with several layers.
Hire a skip
Hiring a skip for large wallpaper removal projects can make disposal effortless. It saves space in wheelie bins and prevents multiple trips to the local recycling centre, making it a more efficient and hassle-free process.
Tools and materials for wallpaper removal
Whether you’re using a steam stripper or a chemical solution, you’ll need:
- an orbital scorer (optional but recommended)
- dust sheets
- plastic sheeting (to protect sockets and switches)
- masking tape
- safety goggles and gloves
- protective clothing
- a step ladder
- a stripping knife
- bin bags for rubbish
- a bucket
- a sponge.
For those using a steam wallpaper stripper, you’ll also require:
- an electric steam stripper
- a jug to fill the steam stripper with water.
When chemical stripping, you’ll also need:
- chemical wallpaper stripper
- a spray bottle, roller, or sponge.

Safety considerations when stripping wallpaper
For safe wallpaper removal, follow these necessary precautions:
- Wear protective gear: Safety goggles and gloves are essential to protect your eyes and hands from steam and chemicals.
- Use step ladders safely: Always have someone hold the ladder steady while you’re working at height.
- Store chemicals securely: Keep them out of reach of children and pets.
- Supervise tools and chemicals: Never leave a steam stripper or chemicals unattended.
- Ensure proper ventilation: Open doors and windows to allow airflow and minimise the build-up of fumes when using chemical strippers.
Remember, it’s essential to always read any product instructions before beginning work. Read them thoroughly to ensure you take all the safety precautions.
How to strip wallpaper with a steam wallpaper stripper
Step one: Prepare the steam stripper
Wear protective clothing, safety goggles, and gloves to keep yourself safe. Next, remove the cap of the steam stripper and fill the reservoir with warm tap water using a jug. Warm water speeds up the heating process, though cold tap water works too — it will just take a little longer to heat.
Once filled, securely replace the cap, plug in the steam stripper, and turn it on. Wait for the tool to heat up. You’ll know it’s ready when steam begins to escape from the steam plate.
Step two: Steam the wallpaper
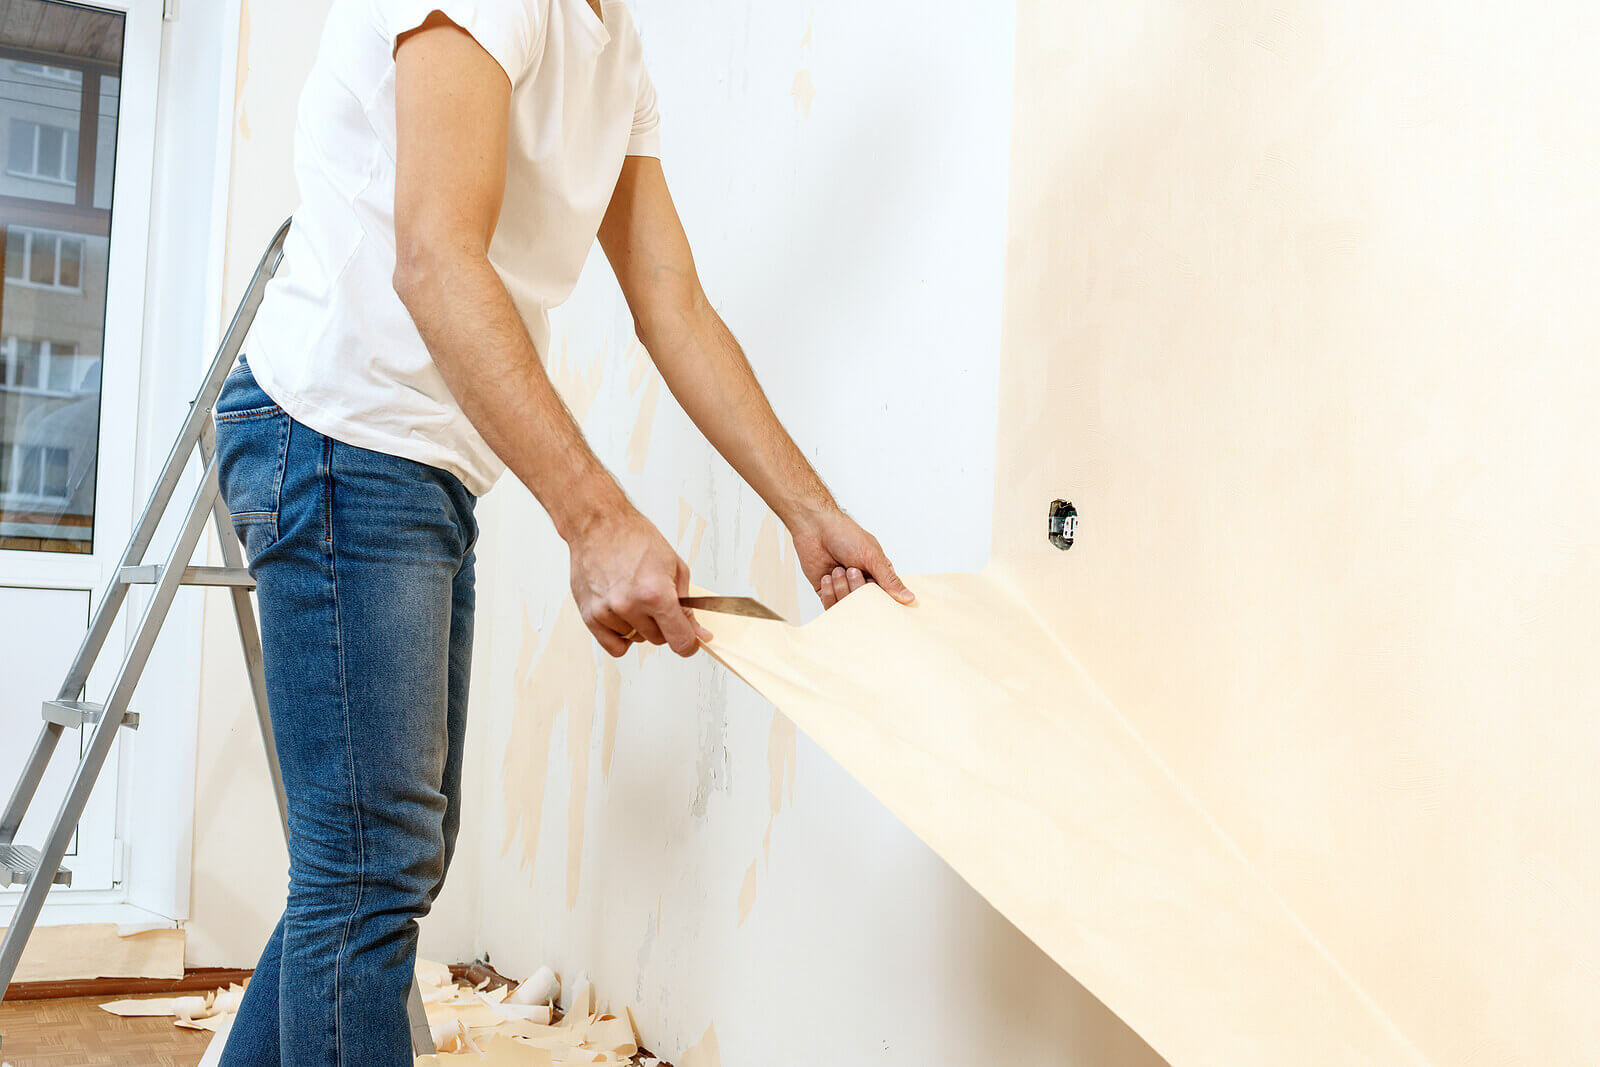
Beginning at the bottom of the wall, hold the steamer against the wallpaper for around 10 seconds. Once the wallpaper around the steamer looks damp, move the steamer to the section above. As the adhesive softens, gently pull off the loosened wallpaper and dispose of it in a bin bag as you go.
Be careful not to over-steam any area, as this can damage the plaster underneath. If you hear a popping sound, it means the plaster has cracked. To avoid this, only steam each section for as long as necessary to loosen the wallpaper.
Step three: Finish steaming and scraping the wallpaper
Some steam strippers have two steam plates — a large one and a smaller one for tackling hard-to-reach areas like radiators and sockets. If you have a small steam plate, let the steamer cool down before unscrewing the large plate from the hose and attaching the smaller one. This will help you work more precisely in tighter spaces.
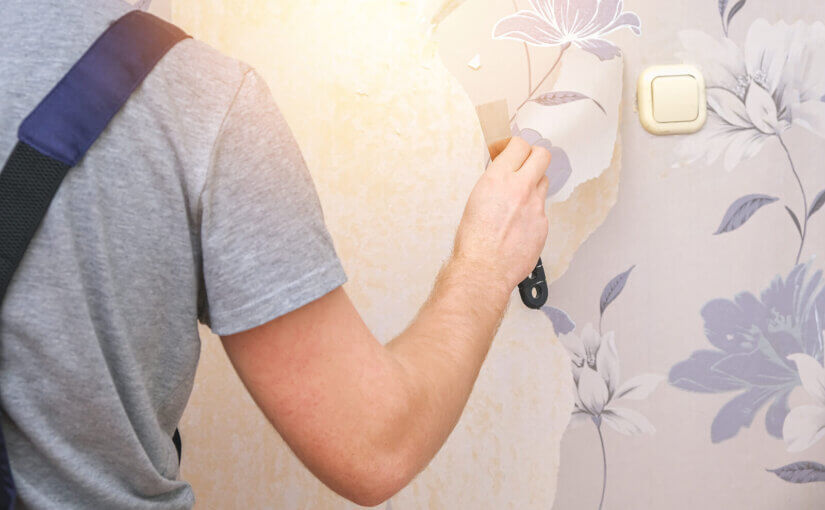
Carefully scrape away any remaining wallpaper with a stripping knife.
How to remove wallpaper with a chemical stripping solution

Step one: Prepare the chemical stripping solution
Wear safety goggles, gloves, and protective clothing to protect from splashes and fumes.
If you’re not using a ready-to-use spray, mix the chemical wallpaper stripper following the manufacturer’s instructions. Be precise with the measurements to ensure effective results without wall damage.
Step two: Apply the solution to the wall
Use a spray bottle, roller, or sponge to apply the stripping solution to the wall. Some products include a colour indicator to help you cover all areas evenly without overapplying.
Allow it to sit for 15-20 minutes to effectively break down the wallpaper adhesive before proceeding to the next step.
Step three: Remove the wallpaper
Check a small area to see if the wallpaper can be removed. Once loosened, use a stripping knife to peel it away with short, controlled strokes. Keep the blade flat against the wall to prevent the corners from digging in and damaging the plaster.
If any sections dry out before you reach them, reapply the solution and wait a while before continuing. Work steadily and be mindful of the wall’s surface to avoid unnecessary damage.
Step four: Tidy as you go
Collect the stripped wallpaper from the floor regularly as you work. If left to dry, it can stick to the dust sheets, making it much more difficult to remove later. Keeping the area tidy will streamline the cleanup process.
How to clean the wall after removing wallpaper
Once you’ve removed the wallpaper, cleaning the wall of any remnants and adhesive residue is essential to prepare it for redecorating.
Start by using your stripping knife to scrape off any leftover wallpaper pieces. Then, take a damp sponge and wipe away the adhesive residue. You may need to repeat this process several times to ensure the wall is as clean as possible. This will help you achieve a flawless finish for your new décor.
Allow the wall to dry completely. If you’re redecorating immediately, you’re all set. Otherwise, reattach the switches, clear away the dust sheets and plastic sheeting, switch the power back on, and restore the room to its original state.
Wallpaper removal is just one of many DIY projects you can tackle during autumn and winter. To discover more home improvement ideas, check out our blog post on seasonal tasks around the house.
