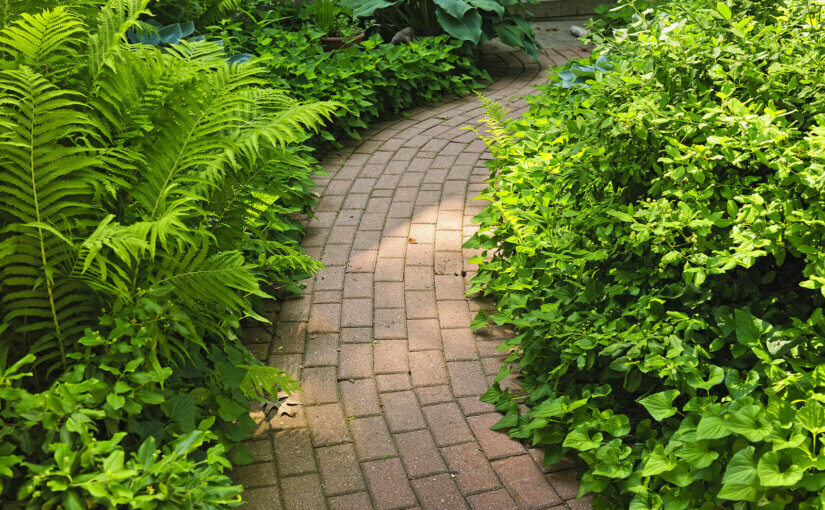
Laying a brick path can enhance your outdoor space by adding colour, warmth, strength, and a secure feeling underfoot.
This type of garden improvement project is popular with homeowners as it can be created in several easy steps using plenty of bricks, gravel, and sand (along with a healthy shovel of time and determination).
A beautiful, meandering brick path doesn’t just provide an eye-catching feature — it will naturally lead others to different parts of your garden, like a pond or sun-trapped space. You can even create a welcoming path that leads to a front door or garage.
We’ve laid out this guide so you know how to lay a brick path that’s both practical and looks the part.
Top tips for laying a brick path
Before we dig into the step-by-step instructions, here are some top tips to help you get started on your brick walkway.
- Choose your bricks and their colour wisely. While bricks are an excellent option for durability, we recommend paving bricks over standard bricks. They’re fired at a higher temperature, making them hardier.
- Use reclaimed bricks wherever possible, as long as they’re brick pavers. Reclaimed bricks are often stronger and more durable than new bricks, not to mention kind to the environment.
- Your brick path should be at least three feet wide. If you have the space, a four-foot-wide path is even more user-friendly.
- A path that leads to somewhere is better than a path that leads to nowhere. Consider how you use your brick walkway to unify spaces outdoors, as flooring does indoors.
- Allowing a weekend to lay a brick path is overly optimistic. The time will depend on the size of the walkway you’re recreating, your preparation, and the resources at hand. Don’t take shortcuts, especially when laying a proper base, as this is pivotal for a long-lasting brick path
Equipment and materials you need:
- 1-inch PVC pipe
- Base of soil and gravel
- Bricks
- Compactor, hand or vibratory
- Chisel and lump hammer (or masonry saw)
- Fine building sand
- Landscape fabric (optional)
- Mallet
- Plastic edging
- Rake
- Soft brush
- Spade
- Spirit level
- Stakes
- Straight board
- Tape measure
Step-by-step instructions for laying a brick path
Step One: Spread the base
A brick walkway needs to be laid on a good foundation. Start by evenly spreading the paver base (gravel and soil) and thoroughly packing it using the compactor.
Apply half the base, compact it, and then do the same for the other half. Rake the gravel and soil to achieve a smooth final surface by filling in low spots with more base and tamping it so it’s thoroughly compacted.
If you use a landscape fabric, add this over the compacted base before adding sand. This suppresses weeds and gives the installation more stability.
Step two: Add edging
Define the perimeter of your paving area by using plastic landscape edging. The top will be the finished height of your path — set it a little higher than the surrounding garden or lawn so water will run off the path. Hold it in place with stakes and check the level regularly using a spirit level.
Step three: Level the sand
Pick where you want to start laying bricks and place two lengths of 1-inch PVC pipe a couple of feet apart. Infill with fine building sand and slide the straight board across the pipes to achieve a smooth surface. Screen off the excess sand, but do not compact it.
Step four: Lay your bricks
Place the bricks into the sand one at a time in the pattern you desire. Use your spirit level to check for bricks higher than their neighbours. Tap them with a mallet or length of straight wood to set them lower in the sand. If the brick is too low, remove it, add sand, and replace it. Keep laying the bricks this way, saving the edge pieces until the end.
Step five: Add finishing touches
Cut the bricks using the chisel and lump hammer. However, if you have a masonry saw, it will make it much easier.
Measure each brick individually and cut by striking sharply on all sides, turning it from the top to the bottom and then side to side. Place the brick with the cut end on the outer edge.
Next, pour a light layer of dried sand along the length of the path and sweep it into the open joints between bricks.
Summary
Along with all your tools and equipment, you’ll be better off with a garden waste skip to make the task more manageable.
Remember, it’s not always a bad thing to be led down the brick path. It can be enjoyed for years and add value to your home. Best of all, you did it with your bare hands.
