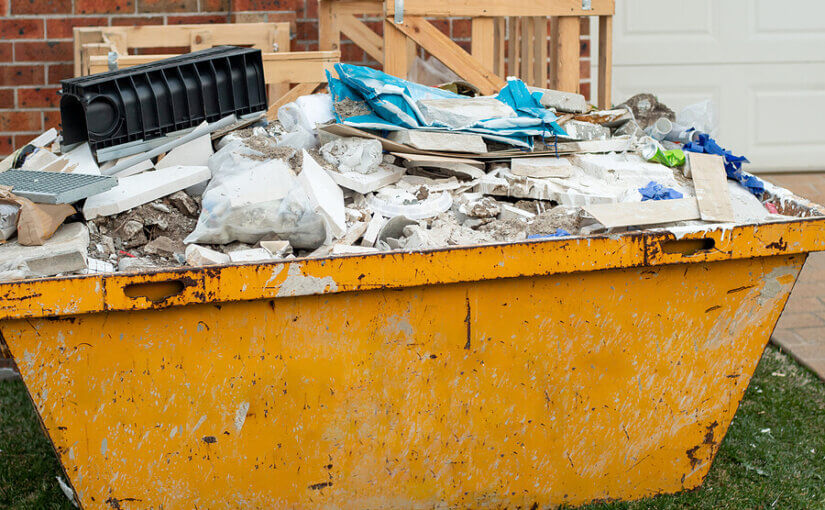
Knowing how to fill a skip properly ensures your waste is safely managed and taken care of. Incorrectly loading a skip increases the risk of hazards and could delay your pickup, meaning you pay more.
Discover the best way to fill a skip with our expert tips and advice, including information about the skip fill line, weight limits, and loading efficiency.
What is a skip fill level?
A skip fill level or line indicates how high you can fill a skip with waste.
This line is usually on the top of your skip, clearly marked in a thick, red colour. Filling your skip past this limit could result in extra charges or failed collections, as the skip will be too dangerous to remove and empty.
Before booking your skip hire, ensure the maximum load level suits your project. If you’re unsure, it’s best to size up.
You’ll also need to ensure you haven’t included any hazardous items in the skip, as this can also delay pickup and incur extra costs.
How to load a skip

Understanding how to load a skip correctly is key for making the most out of your skip hire. Proper and efficient loading increases safety, minimises the risk of additional charges and allows you to pack more waste into the container.
Organise
We recommend sorting your waste into different categories to utilise your space better.
An excellent example of an organisational system is:
- Flat items
- Tessellate objects (such as bricks)
- Large or bulky items
- Loose debris
These various types will need to be layered into the skip at different stages, which is why it’s best to split them up.
You’ll also want to reduce the size of your bulky items as much as possible. Break them down into smaller parts, such as disassembling furniture. They will go into the skip much easier and take up less space.
Flat items
The first objects to go into your skip are flat items. Include things like cardboard or wood in this category — anything easily squashed by larger, heavier objects later.
Place them along the base of the skip. If you have a large amount in this category, you can also place flat items along the side.
Tessellate objects
Next up are tessellate objects. This layer includes items that will easily fit together, such as bricks.
Try to create an even surface by placing them next to each other, leaving enough space for your remaining items.
Large or bulky items
The third layer to create when loading a skip uses your large and bulky items.
Once these items are broken down into their smallest parts, place them into the skip in layers instead of throwing everything in at once.
During this stage, it’s essential to utilise all the space available. Fill crevices with smaller broken parts and plug more significant gaps.
Loose debris
Loose debris, including sand, gravel, and soil, should go into the skip last.
The debris will fill all the remaining space and utilise the entire area of the skip.
Once you’ve correctly filled your skip and made sure not to load it past the fill line and weight limit, your waste can be removed and properly taken care of. Please contact us for an earlier collection if you’ve filled your skip before your pickup date.
