Laminate flooring is popular with homeowners because of its versatility and durability. However, there will come a time when you need to lift it to access the subfloor or change the room’s décor.
You could hire a professional, but removing laminate flooring is a task you can easily manage independently, even without prior experience — especially with our step-by-step guidance.
Join us as we dive into the essentials of laminate flooring removal. We’ll outline the necessary tools and equipment for the job, then navigate you through the lifting process, providing helpful tips and tricks to ensure a successful project.
Whether you’re a seasoned DIY enthusiast or embarking on your first home improvement venture, our comprehensive guide will equip you with the knowledge and confidence to complete the task efficiently.
Equipment for laminate floor removal
To remove a laminate floor, you’ll need:
- safety goggles
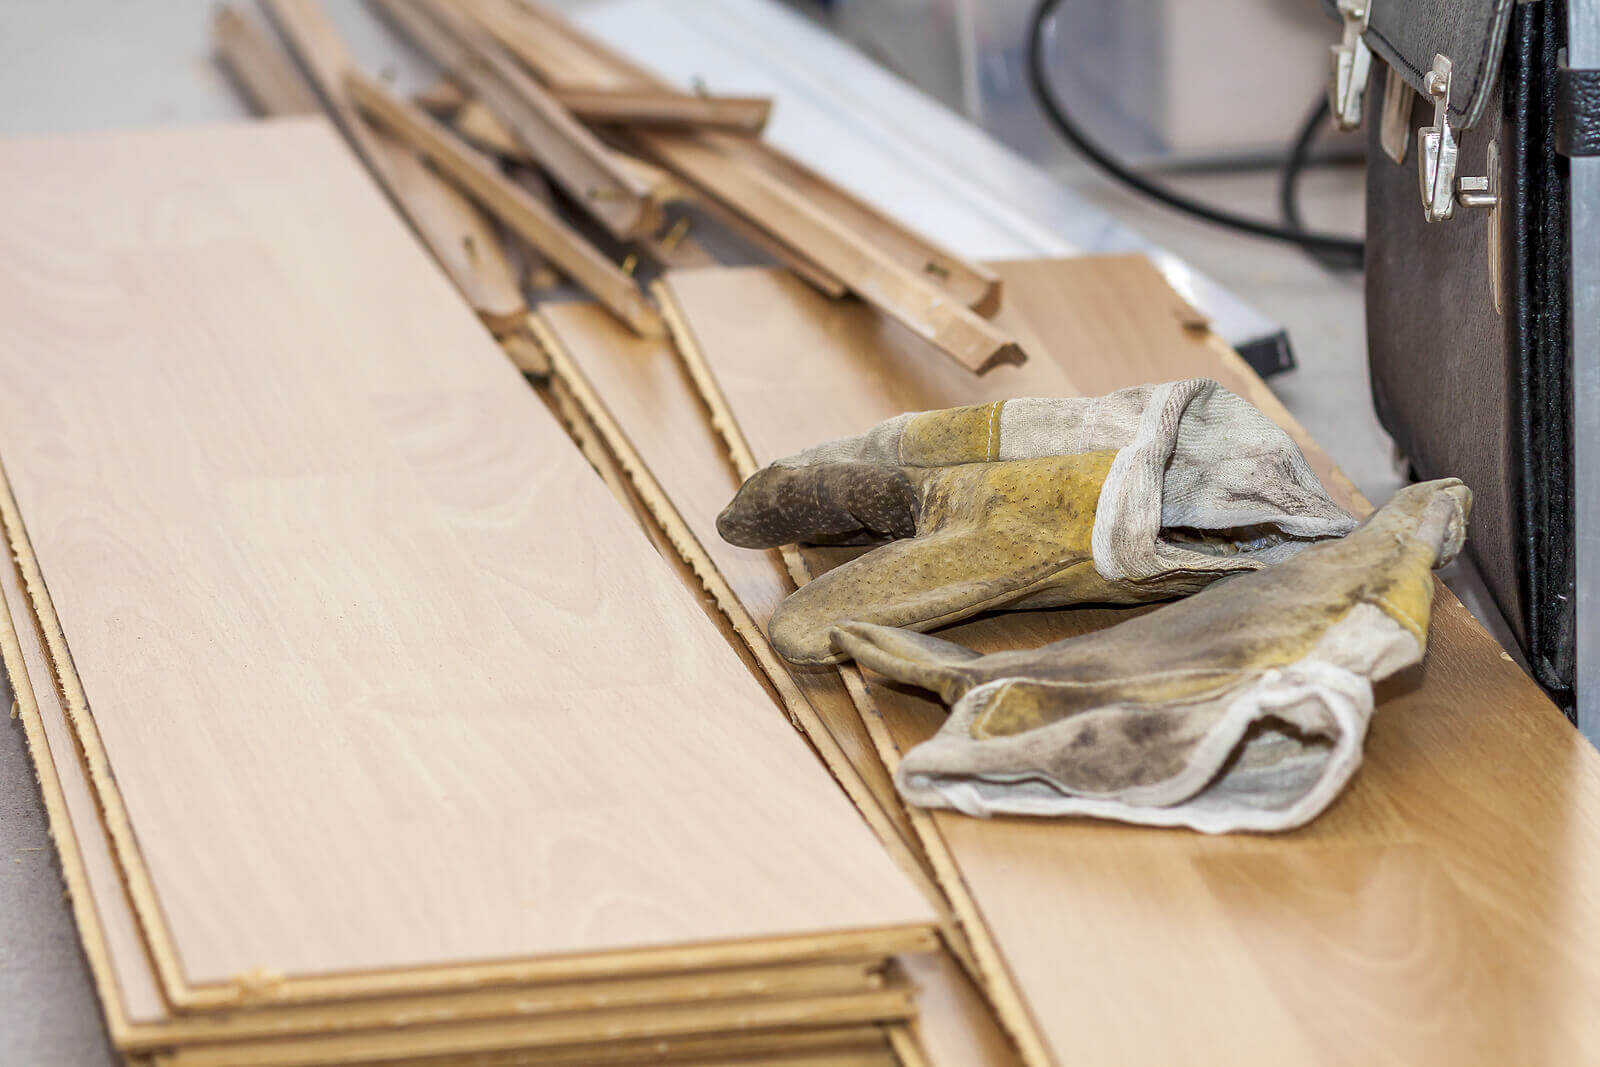
- protective gloves
- protective footwear
- a dust mask
- a crowbar
- a pry bar
- a claw hammer
- a chisel
- a screwdriver (if screws are present)
- a scraper (if the underlay is glued down)
- pliers (if the underlay is stapled down)
- a vacuum cleaner.
How to prep for laminate floor removal
Thorough preparation is vital for safe and quick laminate floor removal.
Begin by clearing the room — moving furniture around during the process will only slow you down. If furniture must remain in the room, cover it with sheets to protect it from dust and damage.
Remove all electrical appliances and switch off the room’s power source to prevent electrical hazards.
Consider your plans for the laminate flooring once it’s been lifted. You might want to reuse or sell it if it’s in good condition. You can get rid of damaged flooring at your local recycling centre, or hire a skip for easy waste removal.
How to lift laminate flooring

Removing laminate flooring is relatively straightforward, but our guide will ensure you do it effectively and without causing damage.
1. Detach the skirting boards
Begin by removing the skirting boards to access the laminate flooring. Use a chisel and hammer to tap between the wall and the skirting board gently, then slide the chisel to lever the board away.
Extract nails using the hammer claw, then repeat the process with each board. Remember to note where each skirting board came from if you plan to reuse them.
2. Remove transition strips
Check for transition strips in doorways and thresholds. These are the metal or plastic strips that bridge flooring surfaces between rooms.
Unscrew them if necessary or lever them up with a crowbar if they’re not screwed down.
Transition strips are typically not reusable, so these can be placed on your waste pile.
3. Lift the first laminate board
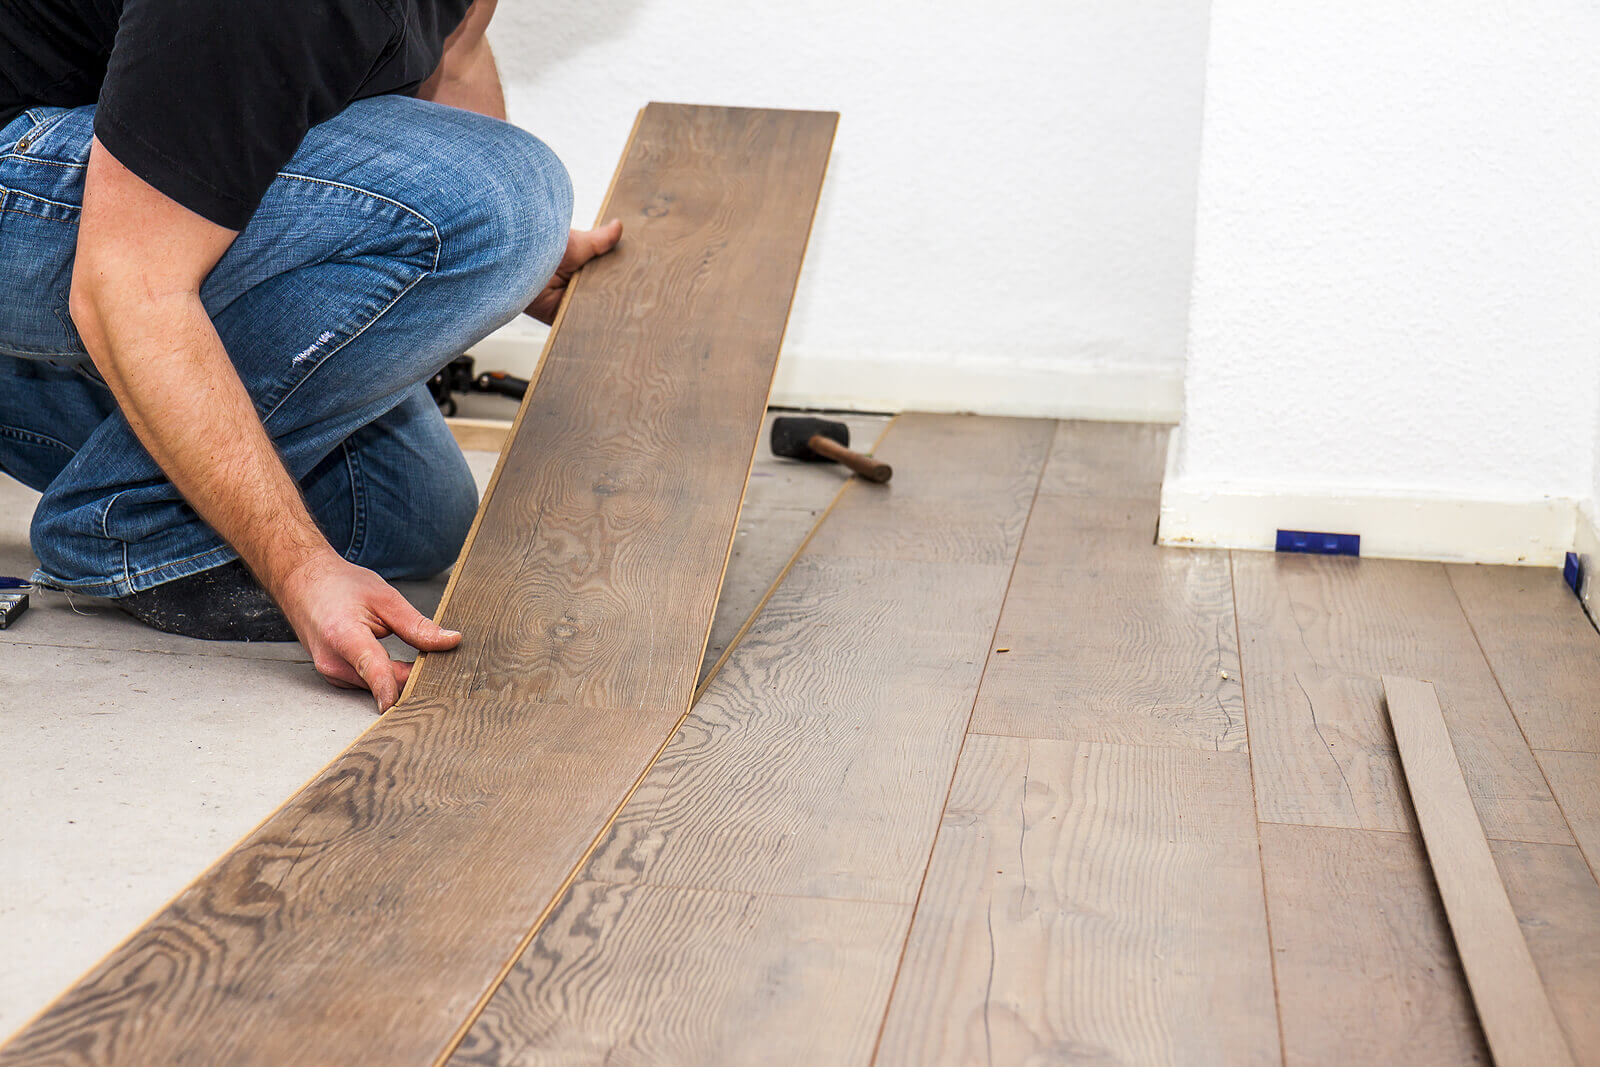
Locate the wall where the longest laminate plank is installed and begin the removal process there. Starting next to a wall is advantageous because it allows you to use the expansion gap left during installation.
Carefully insert a pry bar beneath the edge of the first plank and lift it slowly. As it reaches a 45-degree angle, gently move it to separate it from the adjoining plank.
Use your hands to separate the two planks carefully, then pull out the first one.
Modern laminate flooring consists of interlocking boards, while older planks are sometimes bonded with adhesive. It’s essential to be prepared for either scenario.
Planks joined with glue require more force to separate them, and reuse is impossible. When laminate flooring isn’t fixed with adhesive, it can be reused, so take extra care to avoid damaging it during removal.
4. Remove the remaining planks
Once you’ve successfully removed the first plank, the rest of the process becomes much smoother. Proceed to dislodge the remaining planks until they’re all lifted.
You’ll get into a rhythm as you lift more interlocking planks, learning where they bend to unclick. However, it’s important not to rush, especially if you plan to reuse the boards.
Mistakes can be costly, as the locking mechanisms for laminate flooring are typically made from medium-density fibreboard, which can break easily if mishandled. Take your time and handle each plank with care.
If you’re reusing or selling the laminate, store it in a cool, dry place to preserve its quality. Place any laminate you’re disposing of with the rest of the waste.

5. Remove the underlay
The underlay beneath your flooring serves to absorb foot traffic and provide protection for your original floor.
You’ll need to lift the underlay, which may be stapled or glued down. You may find it easier to cut it into smaller pieces for removal. Use pliers to pull out staples and a scraper to lift underlay that’s been fixed with adhesive.
Once removed, you can roll it up for convenience. Underlay is rarely reused for new flooring so that it can be disposed of alongside the rest of your waste.
6. Clean the subfloor
Now that the removal process is complete, you can access the subfloor. Use a scraper to clear away any remaining bits of material, then thoroughly vacuum the entire area to eliminate dust and debris.
Move all the waste to the skip or vehicle outside. Once the skip is full, contact the waste disposal company to schedule a collection.
If you’ve replaced your kitchen or bathroom flooring, why not retile the walls next? Our blog offers plenty of great advice on property renovations to help you with your next project.
