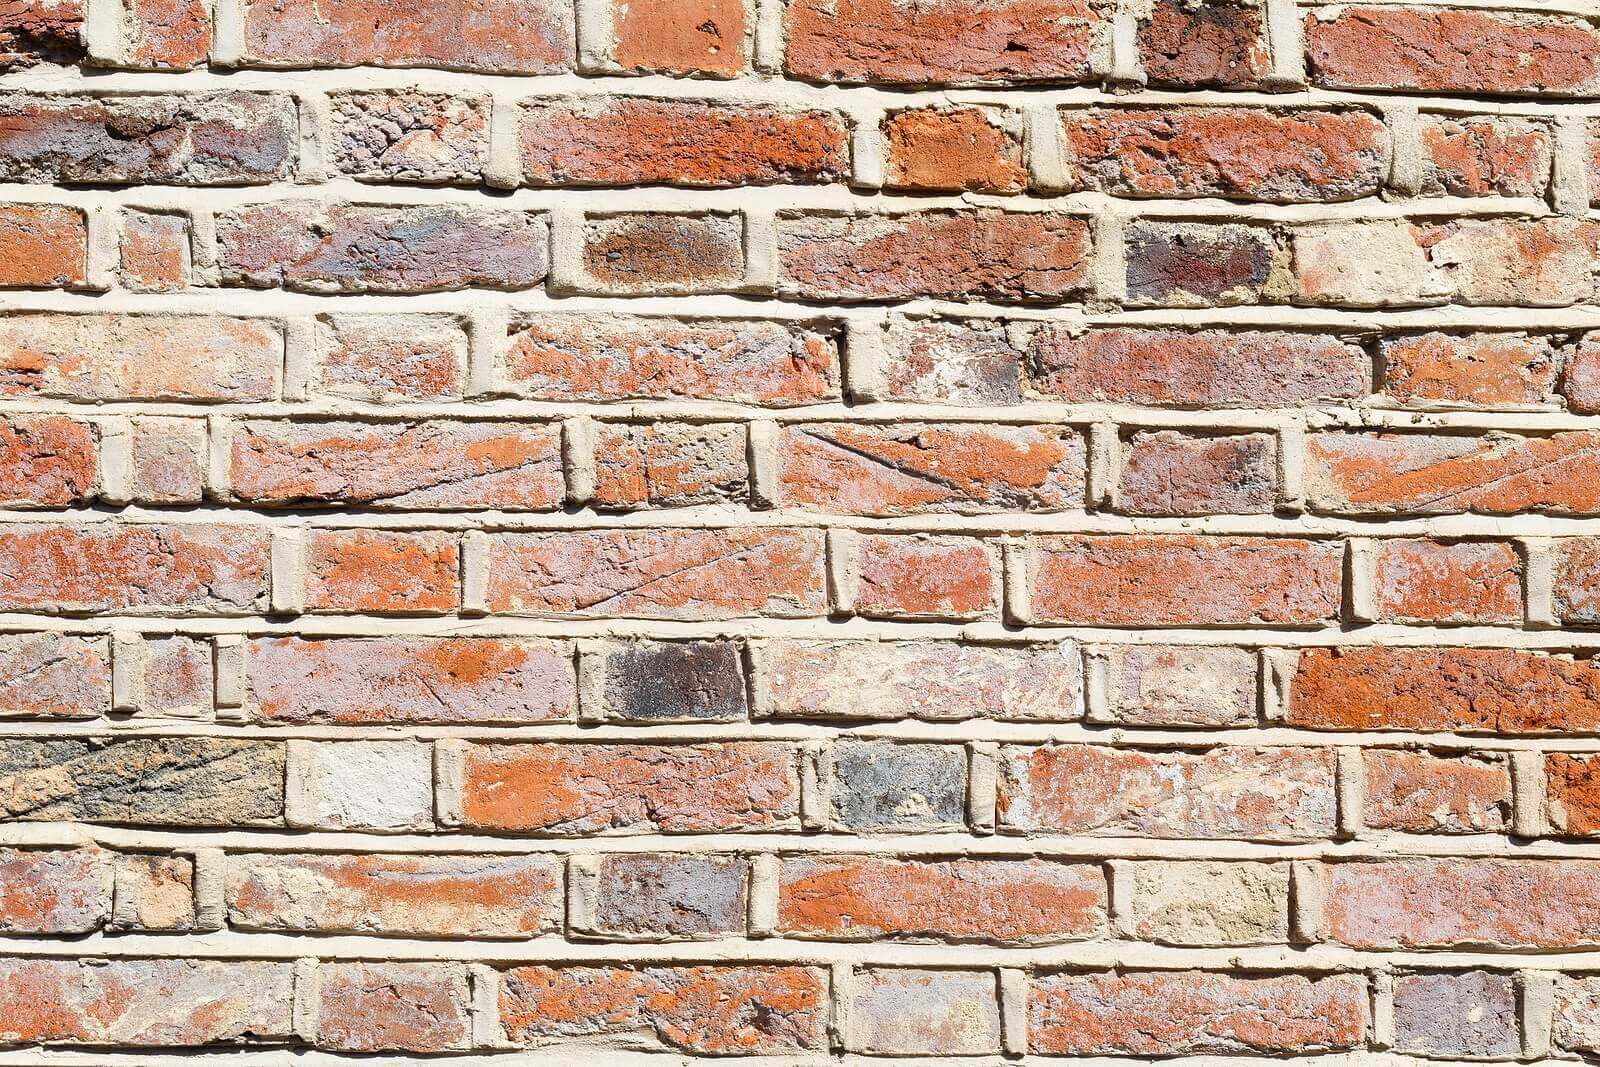
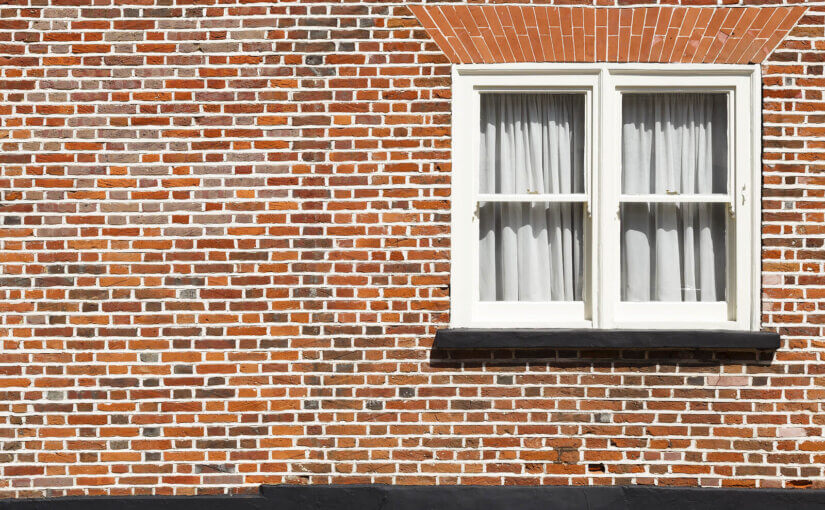
When the mortar in a brick wall begins to crack, crumble, or erode, it indicates that your brickwork needs repointing. Ignoring these signs can lead to many issues, from dampness to leaks, potentially compromising the integrity of your home. Repointing prevents these problems while enhancing the appearance and protecting the value of your property.
In this guide, we’ll explore what repointing entails, walk you through the essential tools and materials, and provide a step-by-step process to help you tackle the task confidently. Read on to learn about common pitfalls to avoid when repointing your brickwork, ensuring you’re fully prepared for the task ahead.
What is repointing?
Repointing is a restoration process where old mortar is replaced in brickwork.
Individual masonry units like bricks are held together by mortar when brick walls are built. However, mortar is softer than bricks and naturally erodes over time. When this happens, the old mortar must be carefully removed and replaced with fresh mortar in the outer portion of the joints between the bricks.
How much does repointing cost?
Mortar is intentionally made softer than bricks because replacing it is far more economical. While repointing a modern semi-detached house typically costs between £4,000 and £5,000, rebuilding an entire brick wall would be far more expensive.
Repointing isn’t cheap, but neglecting it can lead to extensive damage that will be much costlier to repair.
Repointing tools and materials
To repoint a brick wall, you’ll need:
- scaffolding (if repointing at height)
- a hammer
- a chisel
- the components for your chosen mortar (for example, lime, sand, and white cement)
- a mortar board
- a pointing trowel
- a wire brush
- a masonry brush
- a water spray
- buckets
- a cement mixer (if it’s a large job)
- personal protective equipment (PPE) — e.g., safety glasses, dust mask, and gloves.
How to repoint a wall

Repointing brickwork is relatively straightforward, but you must do it correctly. Our guide will help you achieve professional results every step of the way.
Step one: Prep the area
It’s a messy job, so start by protecting nearby surfaces like patios, paths, lawns, and flowerbeds with plastic sheets. Clear away any unwanted trailing plants and carefully pin back those you’d like to keep. If scaffolding is needed, the area is now ready to set up.
Before removing the old mortar, hire a skip to be delivered to a convenient location so waste can be efficiently dealt with.
Step two: Remove the old mortar
Don your PPE and remove the old mortar from the wall using a hammer and chisel. Start at the top of the wall and work your way down, focusing on the vertical joints before tackling the horizontal ones. You’ll need to remove the mortar to a depth twice the width of the vertical brick joints. As you go, use a masonry brush to clear away debris and maintain a clear view of your work.
Be especially cautious around windows and doorways, as disturbing the mortar in these areas can impact the fit and function of the frames. Use the chisel gently to rake out loose mortar, careful not to let it fall between the wall and the frame. Avoid removing any mortar that isn’t already loose in these sensitive areas.
While removing mortar, it’s also wise to watch for metal gutter brackets and external power cables. Even minor disturbances can cause brackets to come loose or fall out.
Once you’ve finished, you should have a wall of exposed brick edges ready for the next step.
Step three: Clear away dust and debris
Removing old mortar creates a lot of debris and dust, so use a masonry brush to sweep out the crevices and fully expose the joints. If any stubborn bits of old mortar remain, use a wire brush to dislodge them, then follow up with the masonry brush to ensure the joints are completely clean.
Step four: Moisten the bricks
When the bricks are dust-free, lightly spritz the exposed joints with water. This helps the new mortar adhere better. Allow the bricks to dry while you prepare the fresh mortar mix.
Step five: Mix the mortar
The mortar mix you use will depend on the age of the house or wall you’re repointing and your personal preferences. It’s essential to match the existing mortar’s colour, texture, and durability as closely as possible.
Use buckets to measure your components accurately, marking partial loads with lines inside the buckets to ensure consistency. Precise measurements are crucial for maintaining a uniform colour and consistency throughout the job.
Once all the components are measured, combine them in a cement mixer or a large bucket, depending on the scale of the project. Mix thoroughly until you achieve a smooth, even consistency like creamy peanut butter.
Step six: Begin repointing
If your wall has a damp-proof course, start repointing at the top and work your way down.
When there’s no damp-proof course, begin at the bottom, where moisture tends to accumulate. By starting at the base, you’ll give this section more time to dry. Complete the first half-metre from the ground, then move to the top and work downward.
Start by filling the continuous horizontal joints, then repoint the smaller vertical joints once you finish a few courses horizontally. Continue in the same manner until the job is done. Work from right to left, using your mortar board and pointing trowel to press the fresh mortar into the gaps. Don’t worry about excess mortar at this stage — focus on filling the joints. You can tidy up the appearance later.
Keep a water spray bottle nearby if you’re working slowly or handling a large area alone. Lightly spritz the joints you’ve already filled to keep them moist as you work elsewhere. Once you’ve finished applying the fresh mortar, allow it to set until it’s nearly dry before proceeding to the next step.
Step seven: Remove the excess mortar
Check the mortar after 30 minutes to see if it’s ready for a tidy-up. Press it with your finger — if it doesn’t leave a depression, the mortar is firm enough to proceed. Don’t wait too long — it will be impossible to work with if it dries completely.
Use your trowel and wire brush to tidy up the wall. Start compacting the mortar to ensure it’s firmly set in the joints. Remove any excess and shape the face joints as needed. Most homes have face joints slightly recessed from the wall’s surface, but some styles and regions may demand a deeper joint or a flush finish.
For a gently textured finish, smooth the joint with the trowel, then lightly brush over it with the wire brush.
Common mistakes when repointing brickwork
There are four common mistakes people make when repointing brickwork. Being aware of these pitfalls helps you avoid them and achieve a professional finish.
1. Improper joint preparation
Failing to remove enough of the old mortar can prevent the new mortar from bonding properly, leading to weak joints. Clear out the old mortar to a depth at least twice the width of the vertical brick joints.
2. Incorrect mortar mix selection
Using the wrong mortar type or incorrect ratios can affect the final result. Verify the appropriate mortar type for your project and carefully measure your components. Your mix should be damp enough to hold together without dripping and not overly wet.
3. Ignoring the weather forecast
The best conditions for repointing are dry, mild weather with minimal wind and sun. If adverse weather is unavoidable, protect fresh mortar from rain, snow, hail, and frost. Wind and sun can cause the mortar to dry too quickly, so dampen areas that are curing too fast if you must repoint in this weather.
4. Not considering the brick condition
Repointing dry bricks can lead to rapid setting and weak bonding, so ensure the bricks are adequately dampened after brushing out the joints. Wet bricks can also create problems, so allow sufficient drying time before starting the repointing process.
For more tips on tackling outdoor projects, check out our blog post on rendering a garden wall.
